Dynamics 365 Business Central
Power BI is a powerful tool for data analysis and visualization, but it is only as good as the data it can access. Fortunately, Power BI has built-in support for connecting to a variety of data sources, including Dynamics 365 Business Central.

To connect to Dynamics 365 Business Central from inside Power BI, you will need to use Power Query, a data transformation and cleansing tool that is integrated into Power BI. Power Query uses a formula language called M to perform data transformations and create data models.
In this article, we will provide a step-by-step guide on how to connect to Dynamics 365 Business Central from inside Power BI using Power Query and M language code.
Step 1: Open Power BI Desktop
The first step is to open Power BI Desktop, the desktop-based version of Power BI. Once you have Power BI Desktop open, click on the “Get Data” button in the Home tab of the ribbon.
Step 2: Select Dynamics 365 Business Central as the Data Source
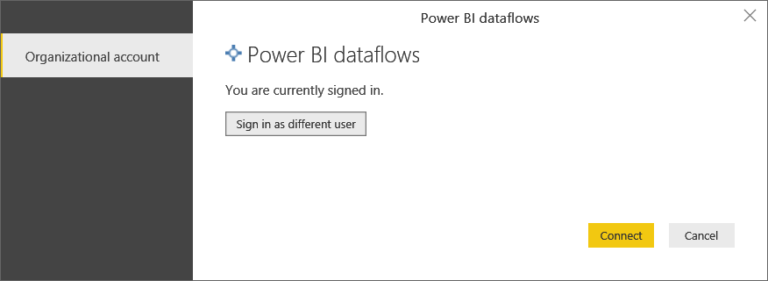
In the “Get Data” window, you will see a list of available data sources. Select “Dynamics 365 Business Central” from the list and click the “Connect” button.
Step 3: Enter the Server URL and Authentication Credentials

In the “Dynamics 365 Business Central” window, enter the server URL for your Dynamics 365 Business Central instance. You will also need to enter your authentication credentials, including your username and password.
Step 4: Select the Tables to Import
Once you have successfully connected to Dynamics 365 Business Central, you will be prompted to select the tables you want to import into Power BI. You can select one or more tables to import.
Step 5: Transform the Data Using Power Query and M Language Code
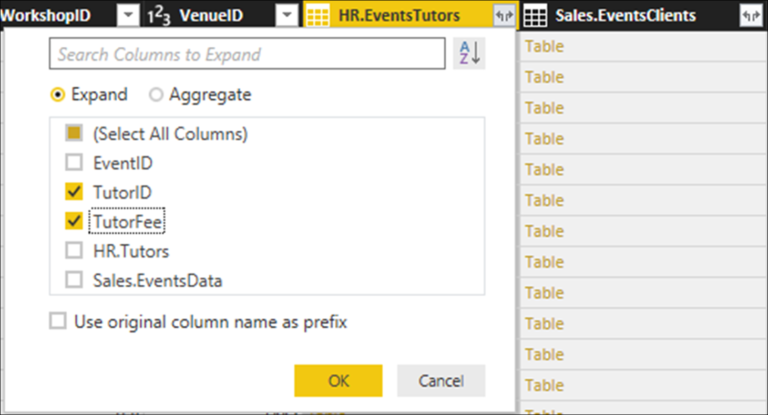
After you have selected the tables you want to import, Power Query will begin importing the data into Power BI. You can use Power Query to transform the data by performing data cleansing, data shaping, and data modelling operations.
To use M language code to transform your data, you will need to open the “Advanced Editor” in Power Query. The Advanced Editor allows you to directly edit the M language code that Power Query generates to transform your data.
The M language code generated by Power Query is a functional programming language that is designed to be easy to read and write. You can use M language code to perform a wide range of data transformations, including filtering, sorting, grouping, and aggregating data.
Here is an example of M language code that filters data based on a specific column value:
let
Source = Dynamics365BusinessCentral.Contents(),
#”Filtered Rows” = Table.SelectRows(Source, each ([Column1] = “Value”))
in
#”Filtered Rows”
In this example, the M language code filters the data in the “Source” table to only include rows where the value in “Column1” is equal to “Value”.
Step 6: Create Data Models and Visualizations in Power BI
Once you have transformed your data using Power Query and M language code, you can create data models and visualizations in Power BI. You can use Power BI’s drag-and-drop interface to create visualizations that give you insights into your data.
Conclusion
In this article, we have shown you how to connect to Dynamics 365 Business Central from inside Power BI using Power Query and M language code. We have provided a step-by-step guide on how to connect to Dynamics 365 Business Central, select tables to import, and transform your data using M language code. We hope this article has been helpful in showing you how to use Power Query and M language code to access and transform your data in Power BI.