Power BI MCSA Certification Training Tips – Part 9: Split into Rows vs Columns
To obtain your MCSA: BI Reporting you need to pass two exams: 70-778 (Analyzing and Visualizing Data with Power BI) and 70-779 (Analyzing and Visualizing Data with Excel). However, there is a huge overlap between the two exams resulting from the common BI features found in both Power BI and Excel: namely data modelling using the DAX language; and data connection and transformation using the M language.
We, at G Com Solutions, recommend to the clients to whom we supply Power BI Training that they prepare for both exams simultaneously and then sit both exams on the same day. We also run a 5 day Power BI MCSA Certification Prep course in London which includes both exams 70-778 and 70-779.
In this series of blog posts, we will be examining some of the key features of Power BI, Power Pivot and Power Query which you will need to master in order to pass the two exams.
This topic, which applies equally to exam 70-778 and 70-779, relates to the splitting of columns which contain more than a single piece of information.
The Split Columns command in the Query Editor is very similar to Microsoft Excel’s Text to Columns feature. It allows you to split a column using a delimiter or by a set number of characters. This command is used in those scenarios where a single column contains several pieces of information. The most common operation is to split the data into separate columns. However, it is also possible to split a column into rows.
The key determinant when when choosing whether to split a column into separate columns or separate rows should be whether the multiple items contained within the column are of different types or are simply repetitions of the same type of information.
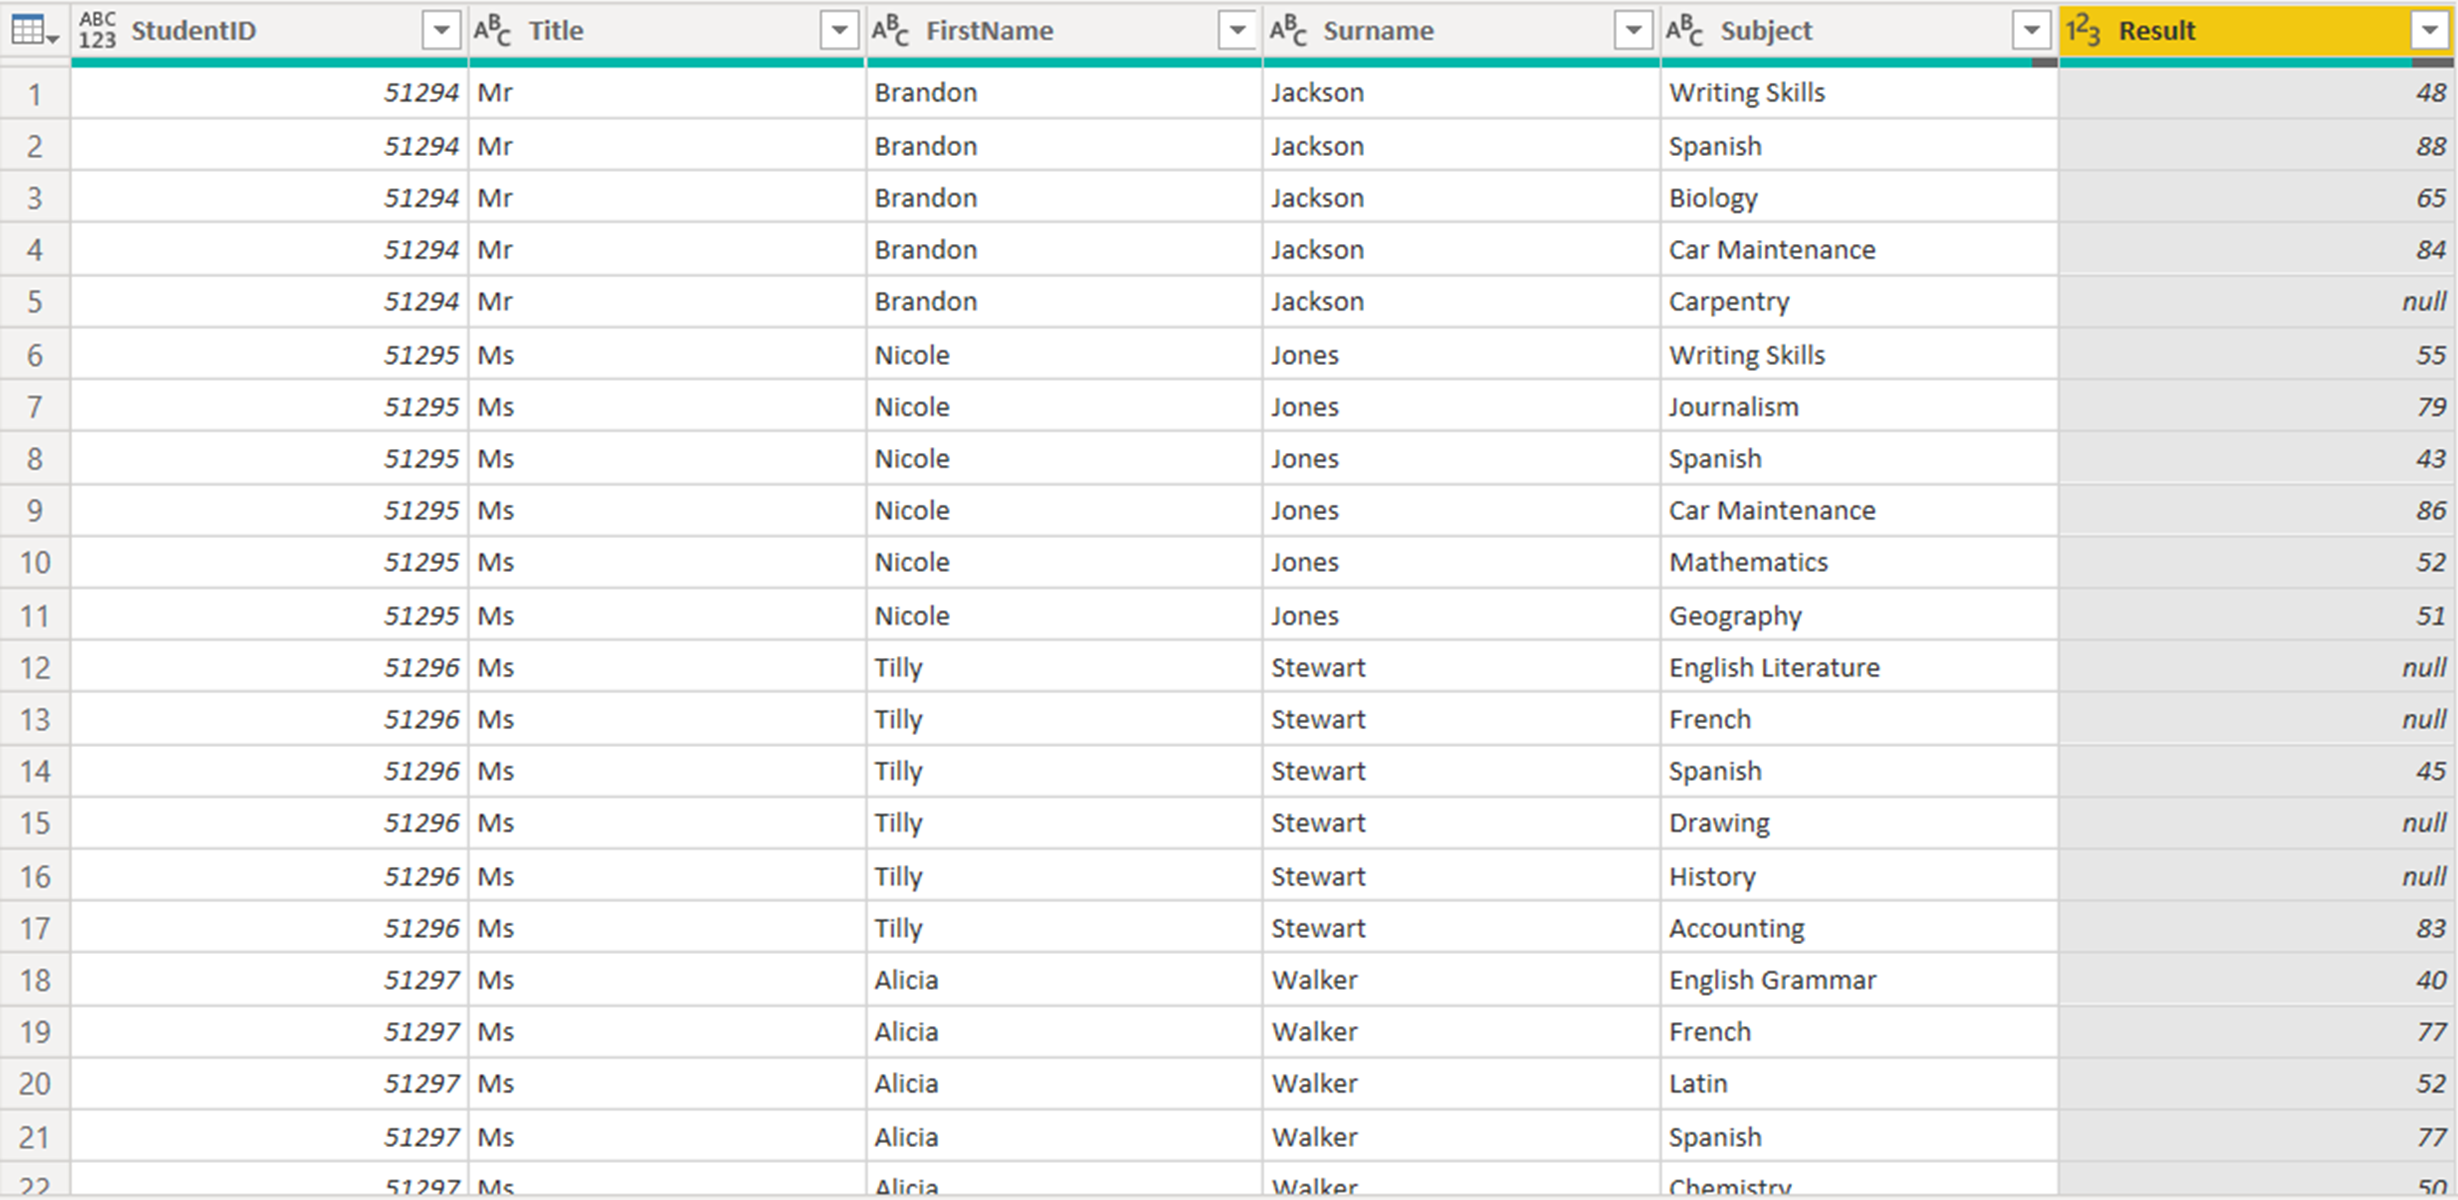
Let us take an example. In the illustration below, we have connected to an Excel table which contains student results. All the results for each student are contained in a single column as a comma-separated list, and there is no repeating pattern as regards the subjects taken: different students will have taken different subjects.
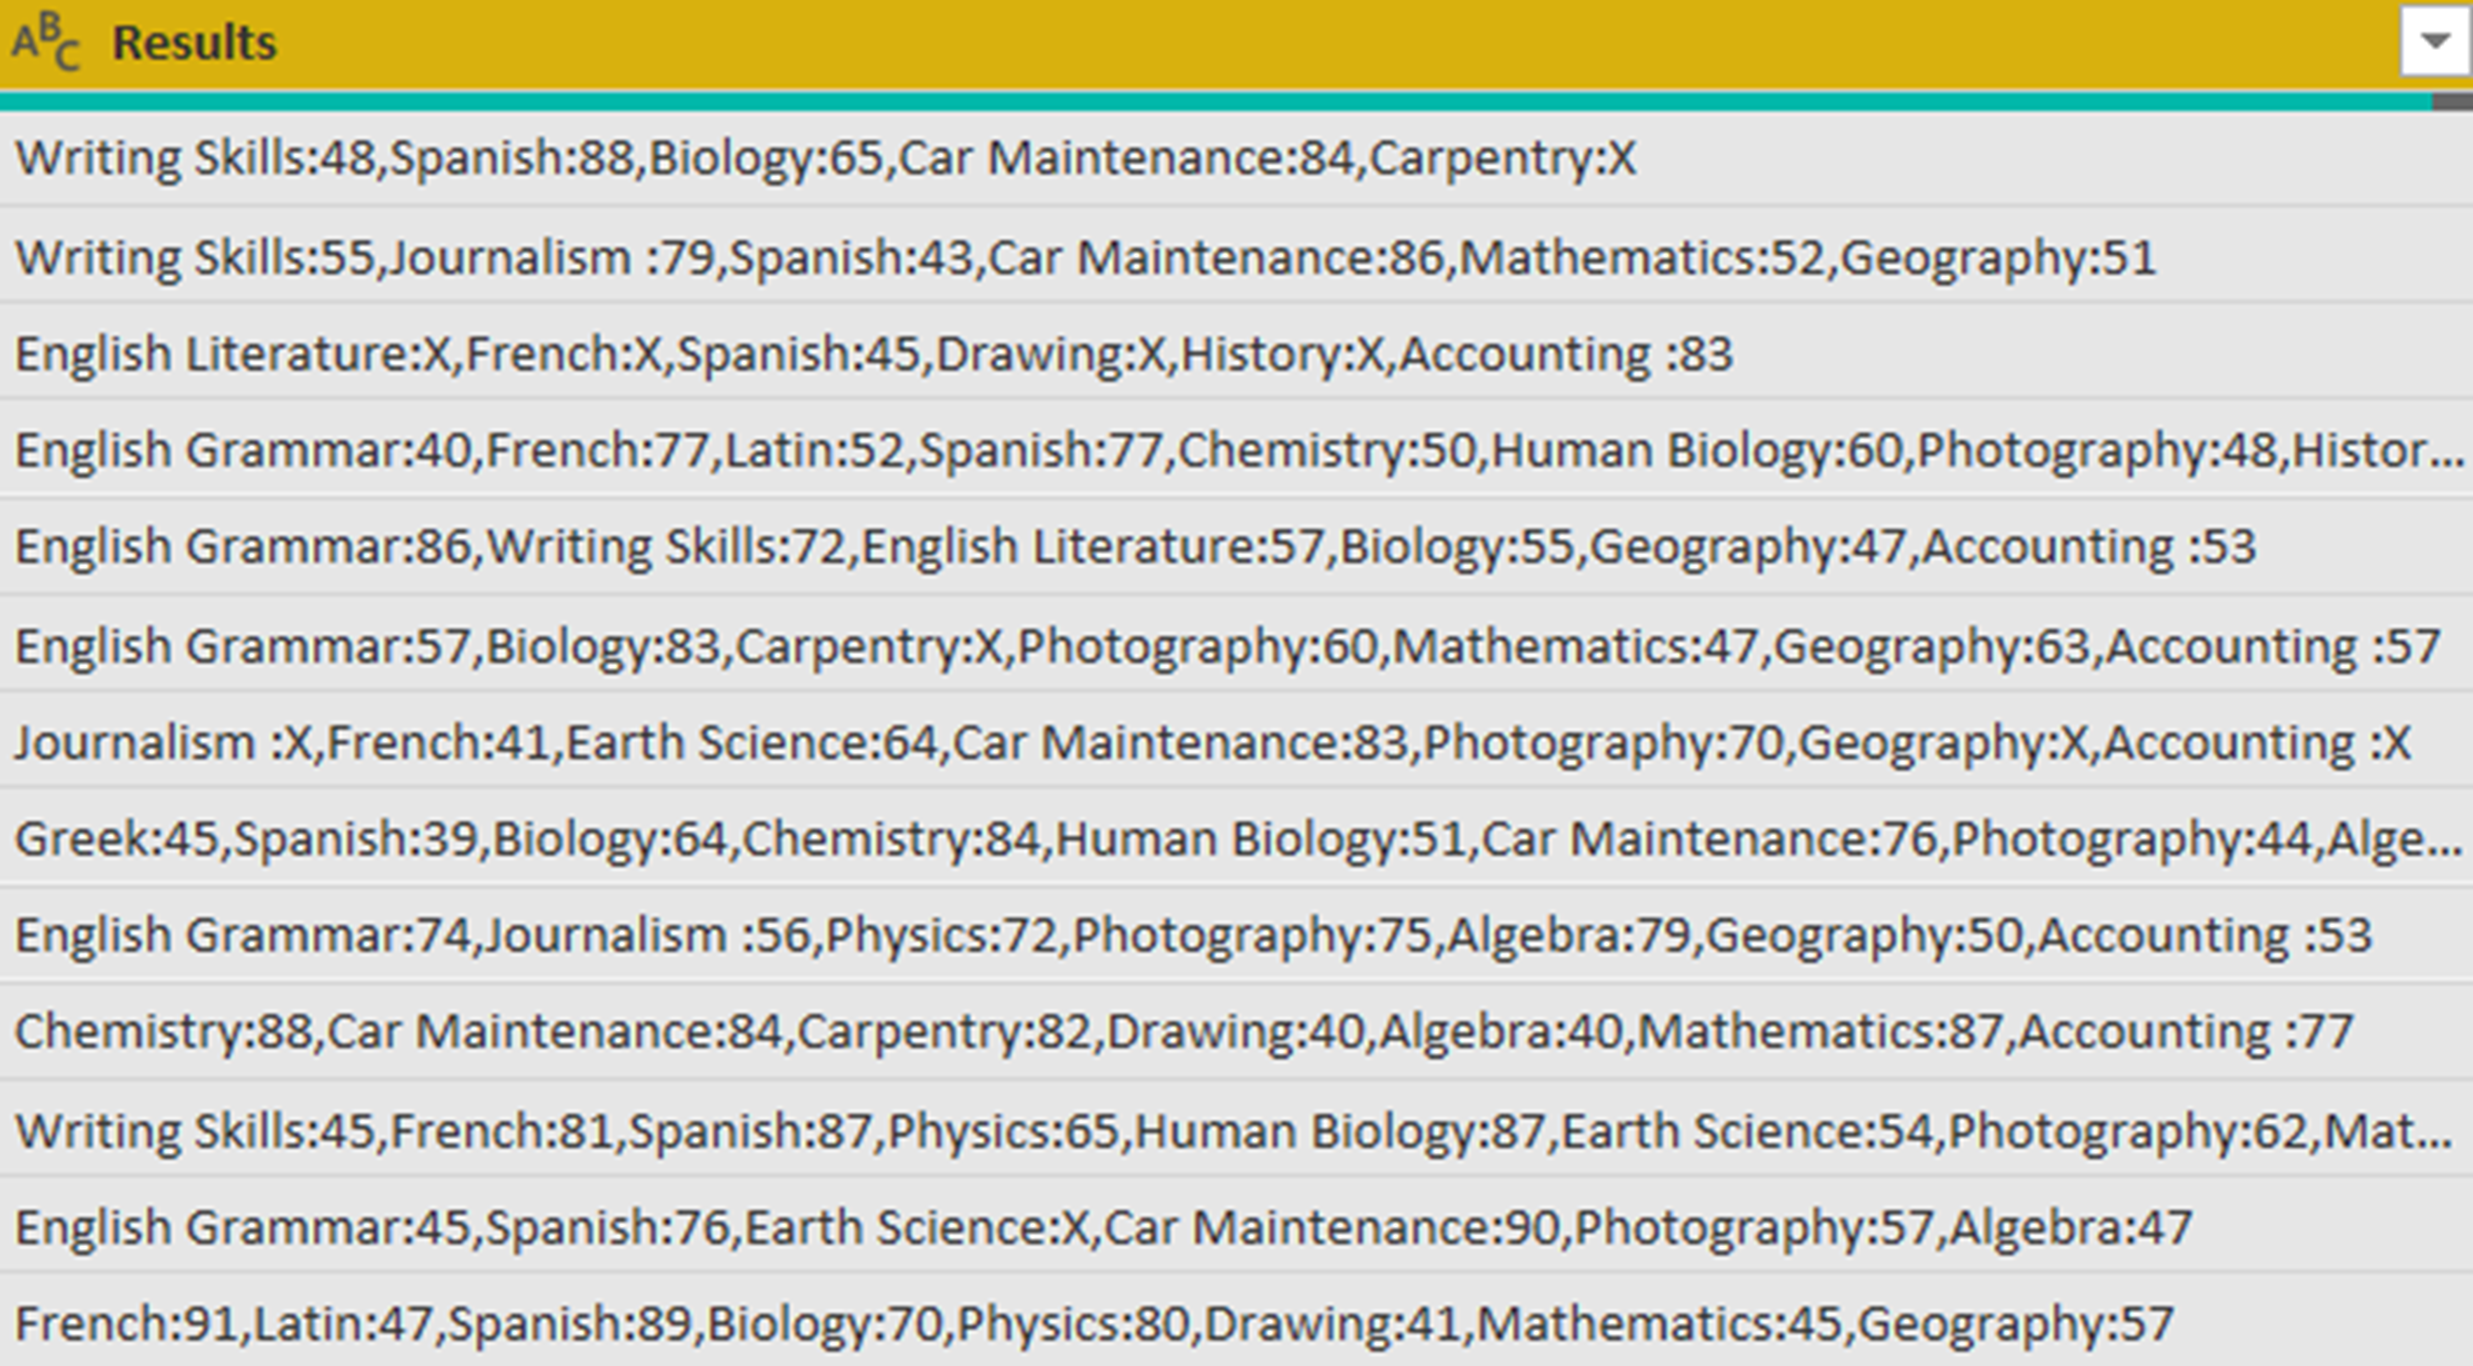
The information which is repeated within the Results column consists of a name-value pair: the name of the subject and the score attained by the student. This time, a colon is used as the separator.
So, in this example, we need to use the Split Column command twice: the first time splitting into rows; and, the second, into columns.
We begin by highlighting the Results column and clicking Transform > Split Column > By Delimiter.
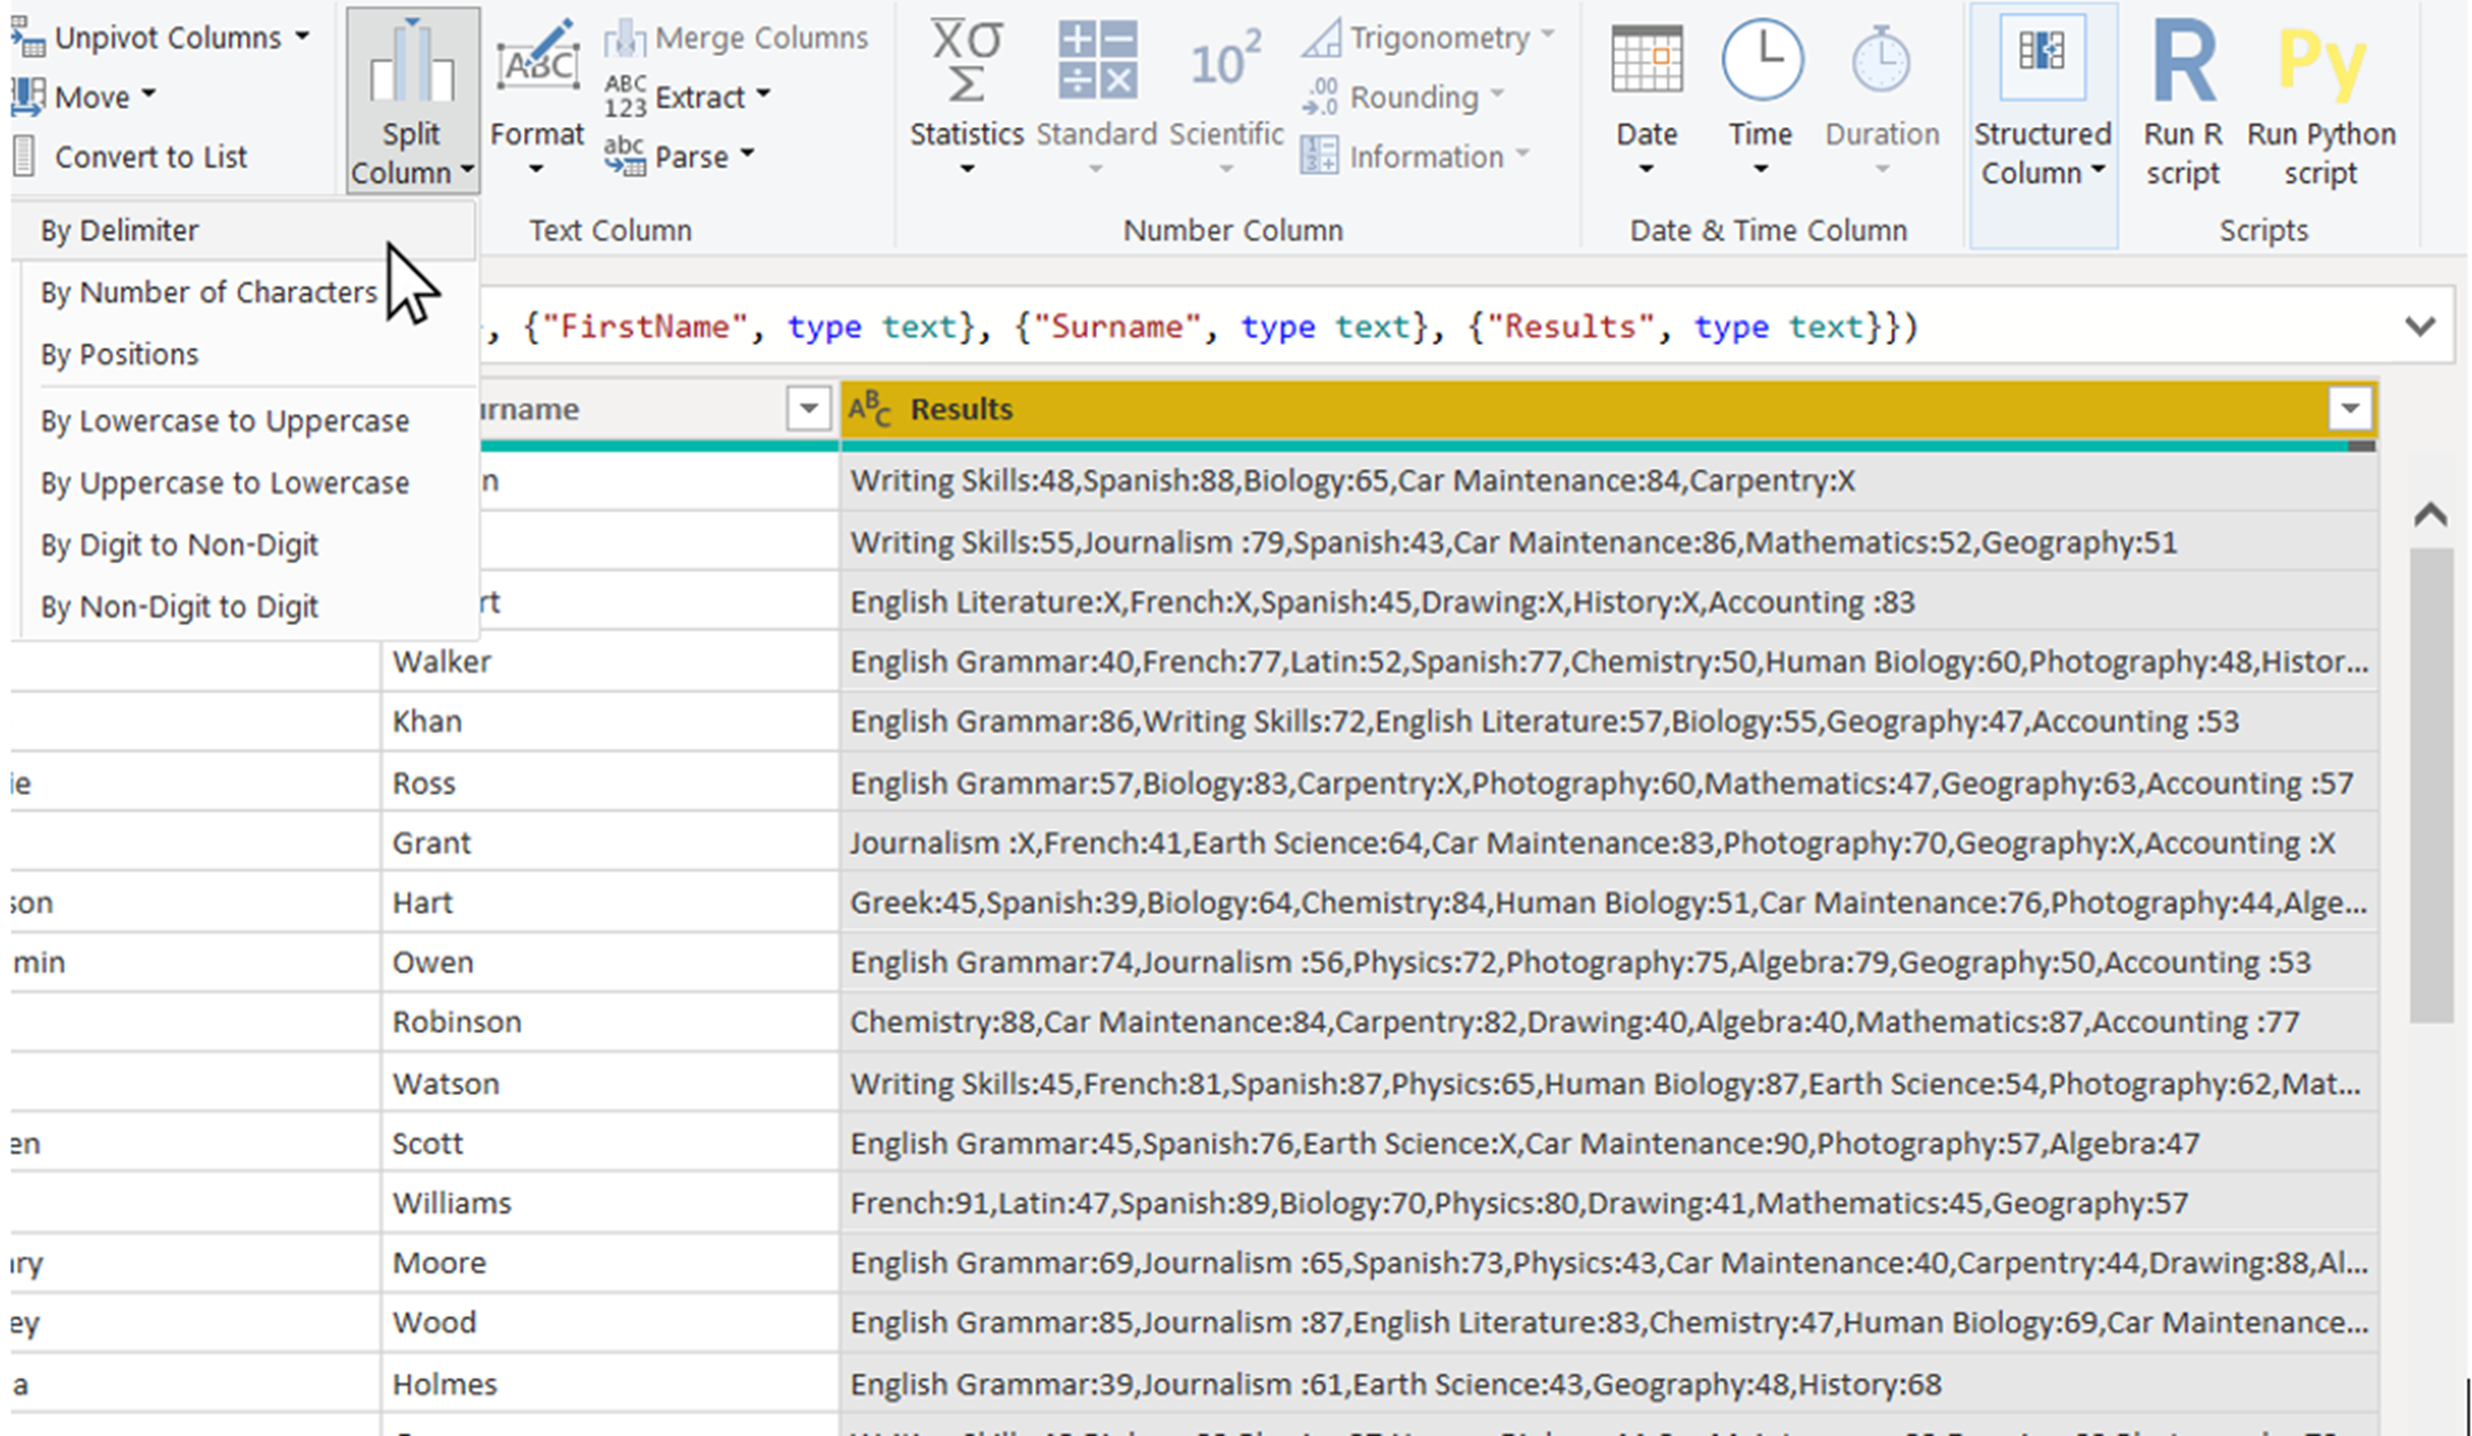
For this first operation, the delimiter will be the comma; and, since the items which are delimited by the comma are of the same type, we need to click Advanced options > Split into Rows.

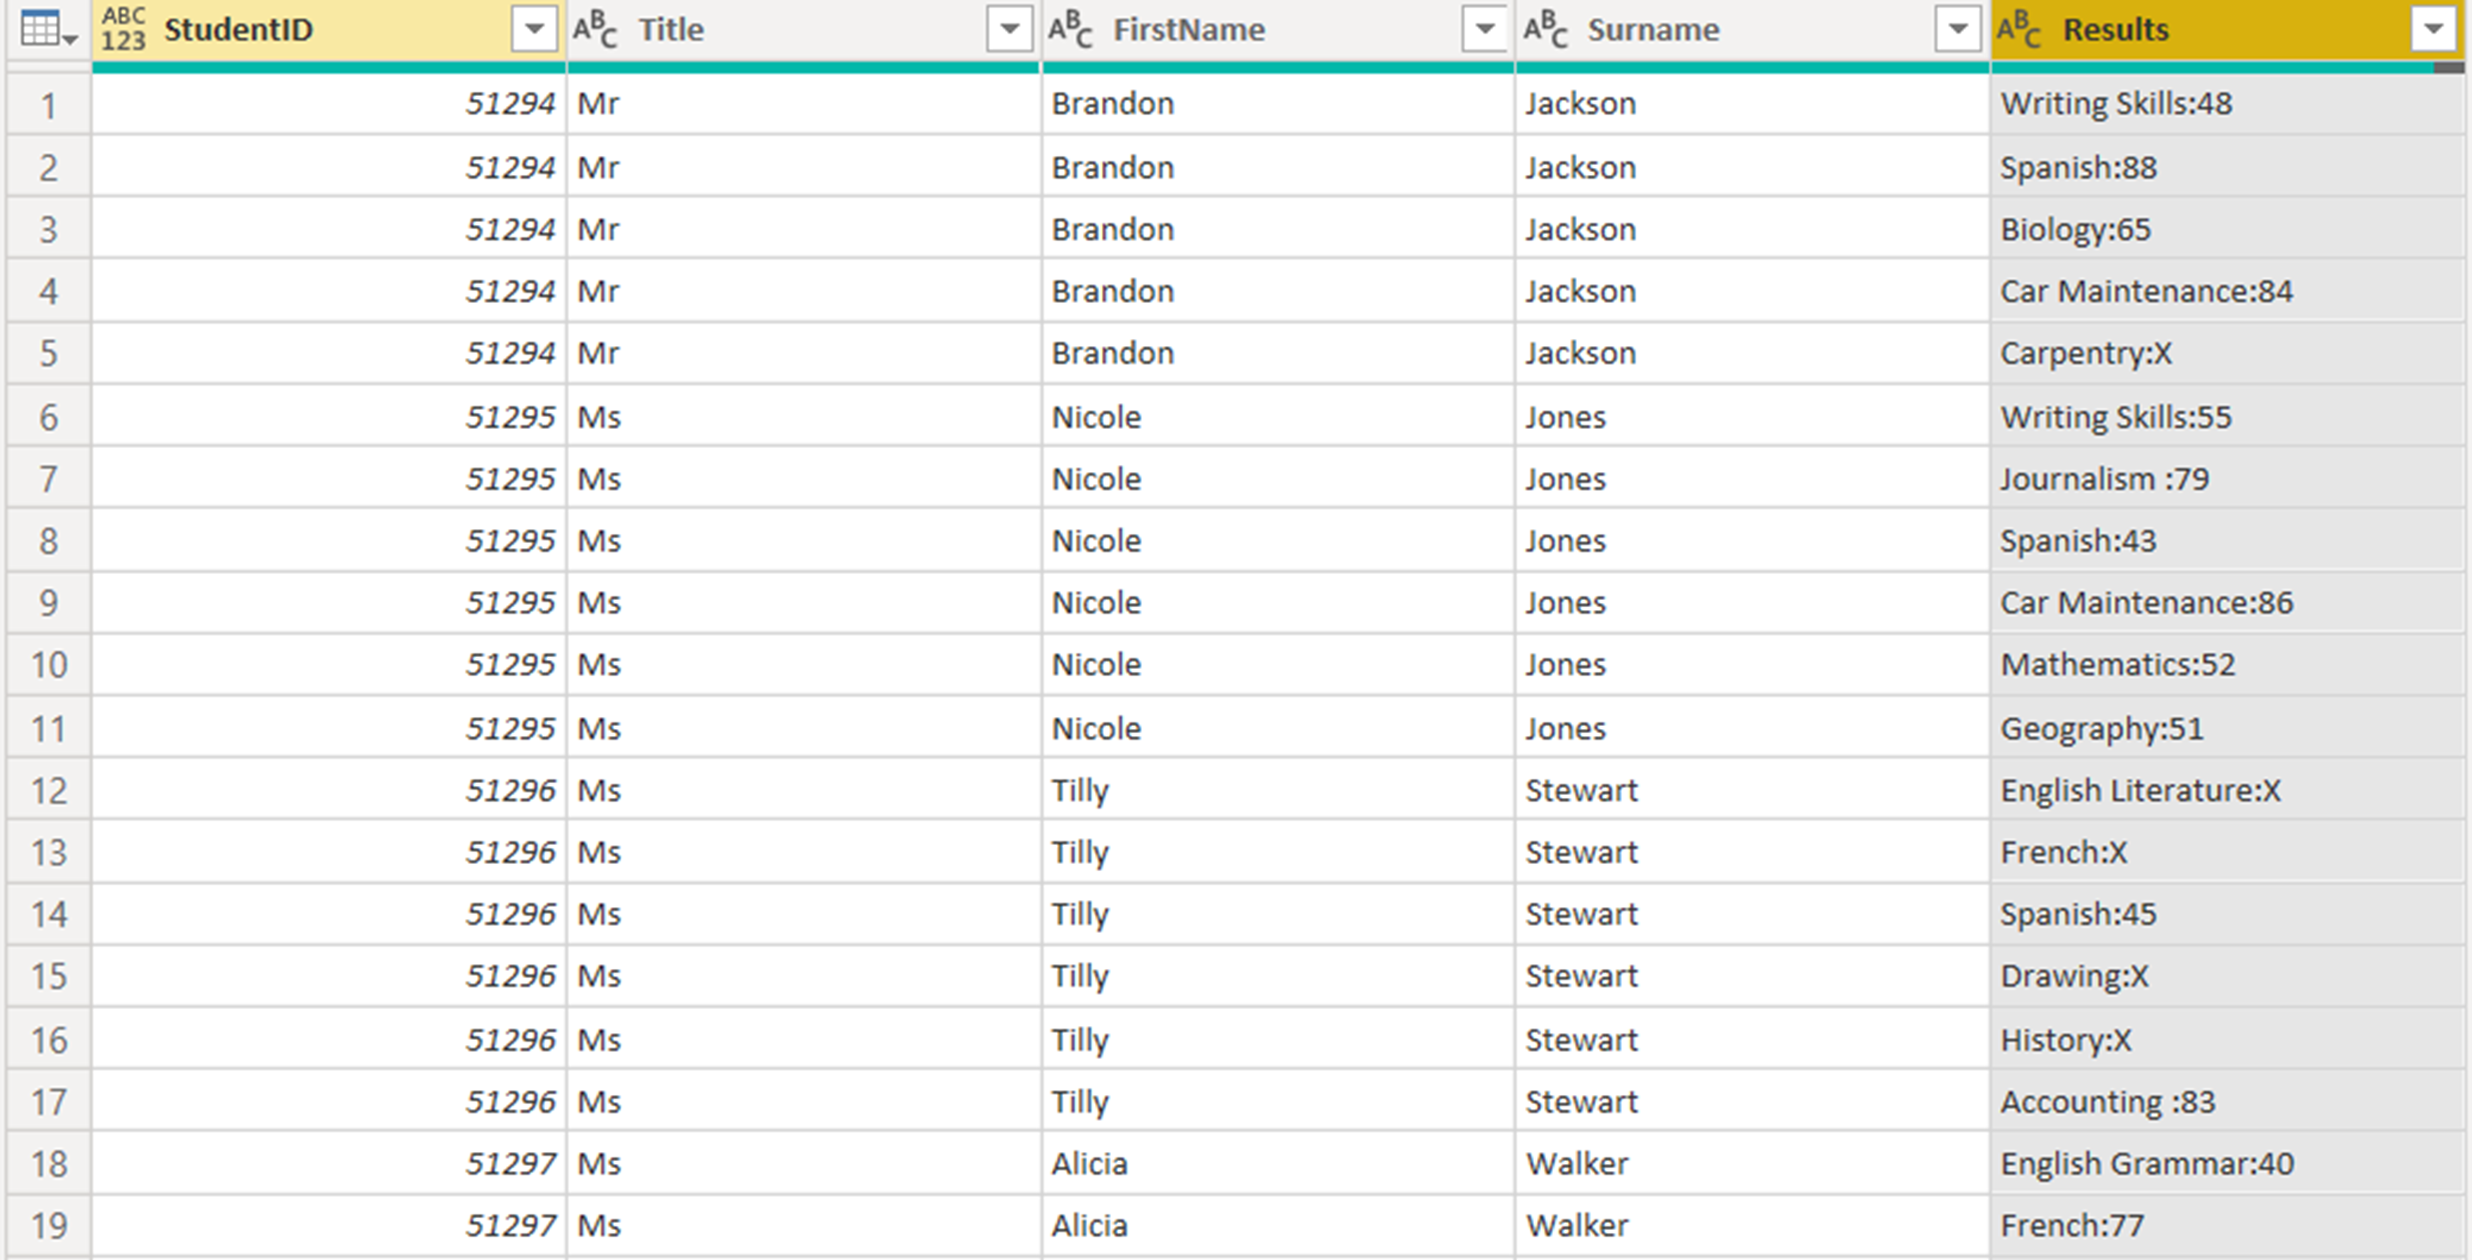
After completing our first split operation, each student’s results are placed in separate rows.
However, we still have more than one piece of information in the Results column. The difference is that, now, the two pieces of information are of different types; and, therefore, they need to split into separate columns, rather than into separate rows.
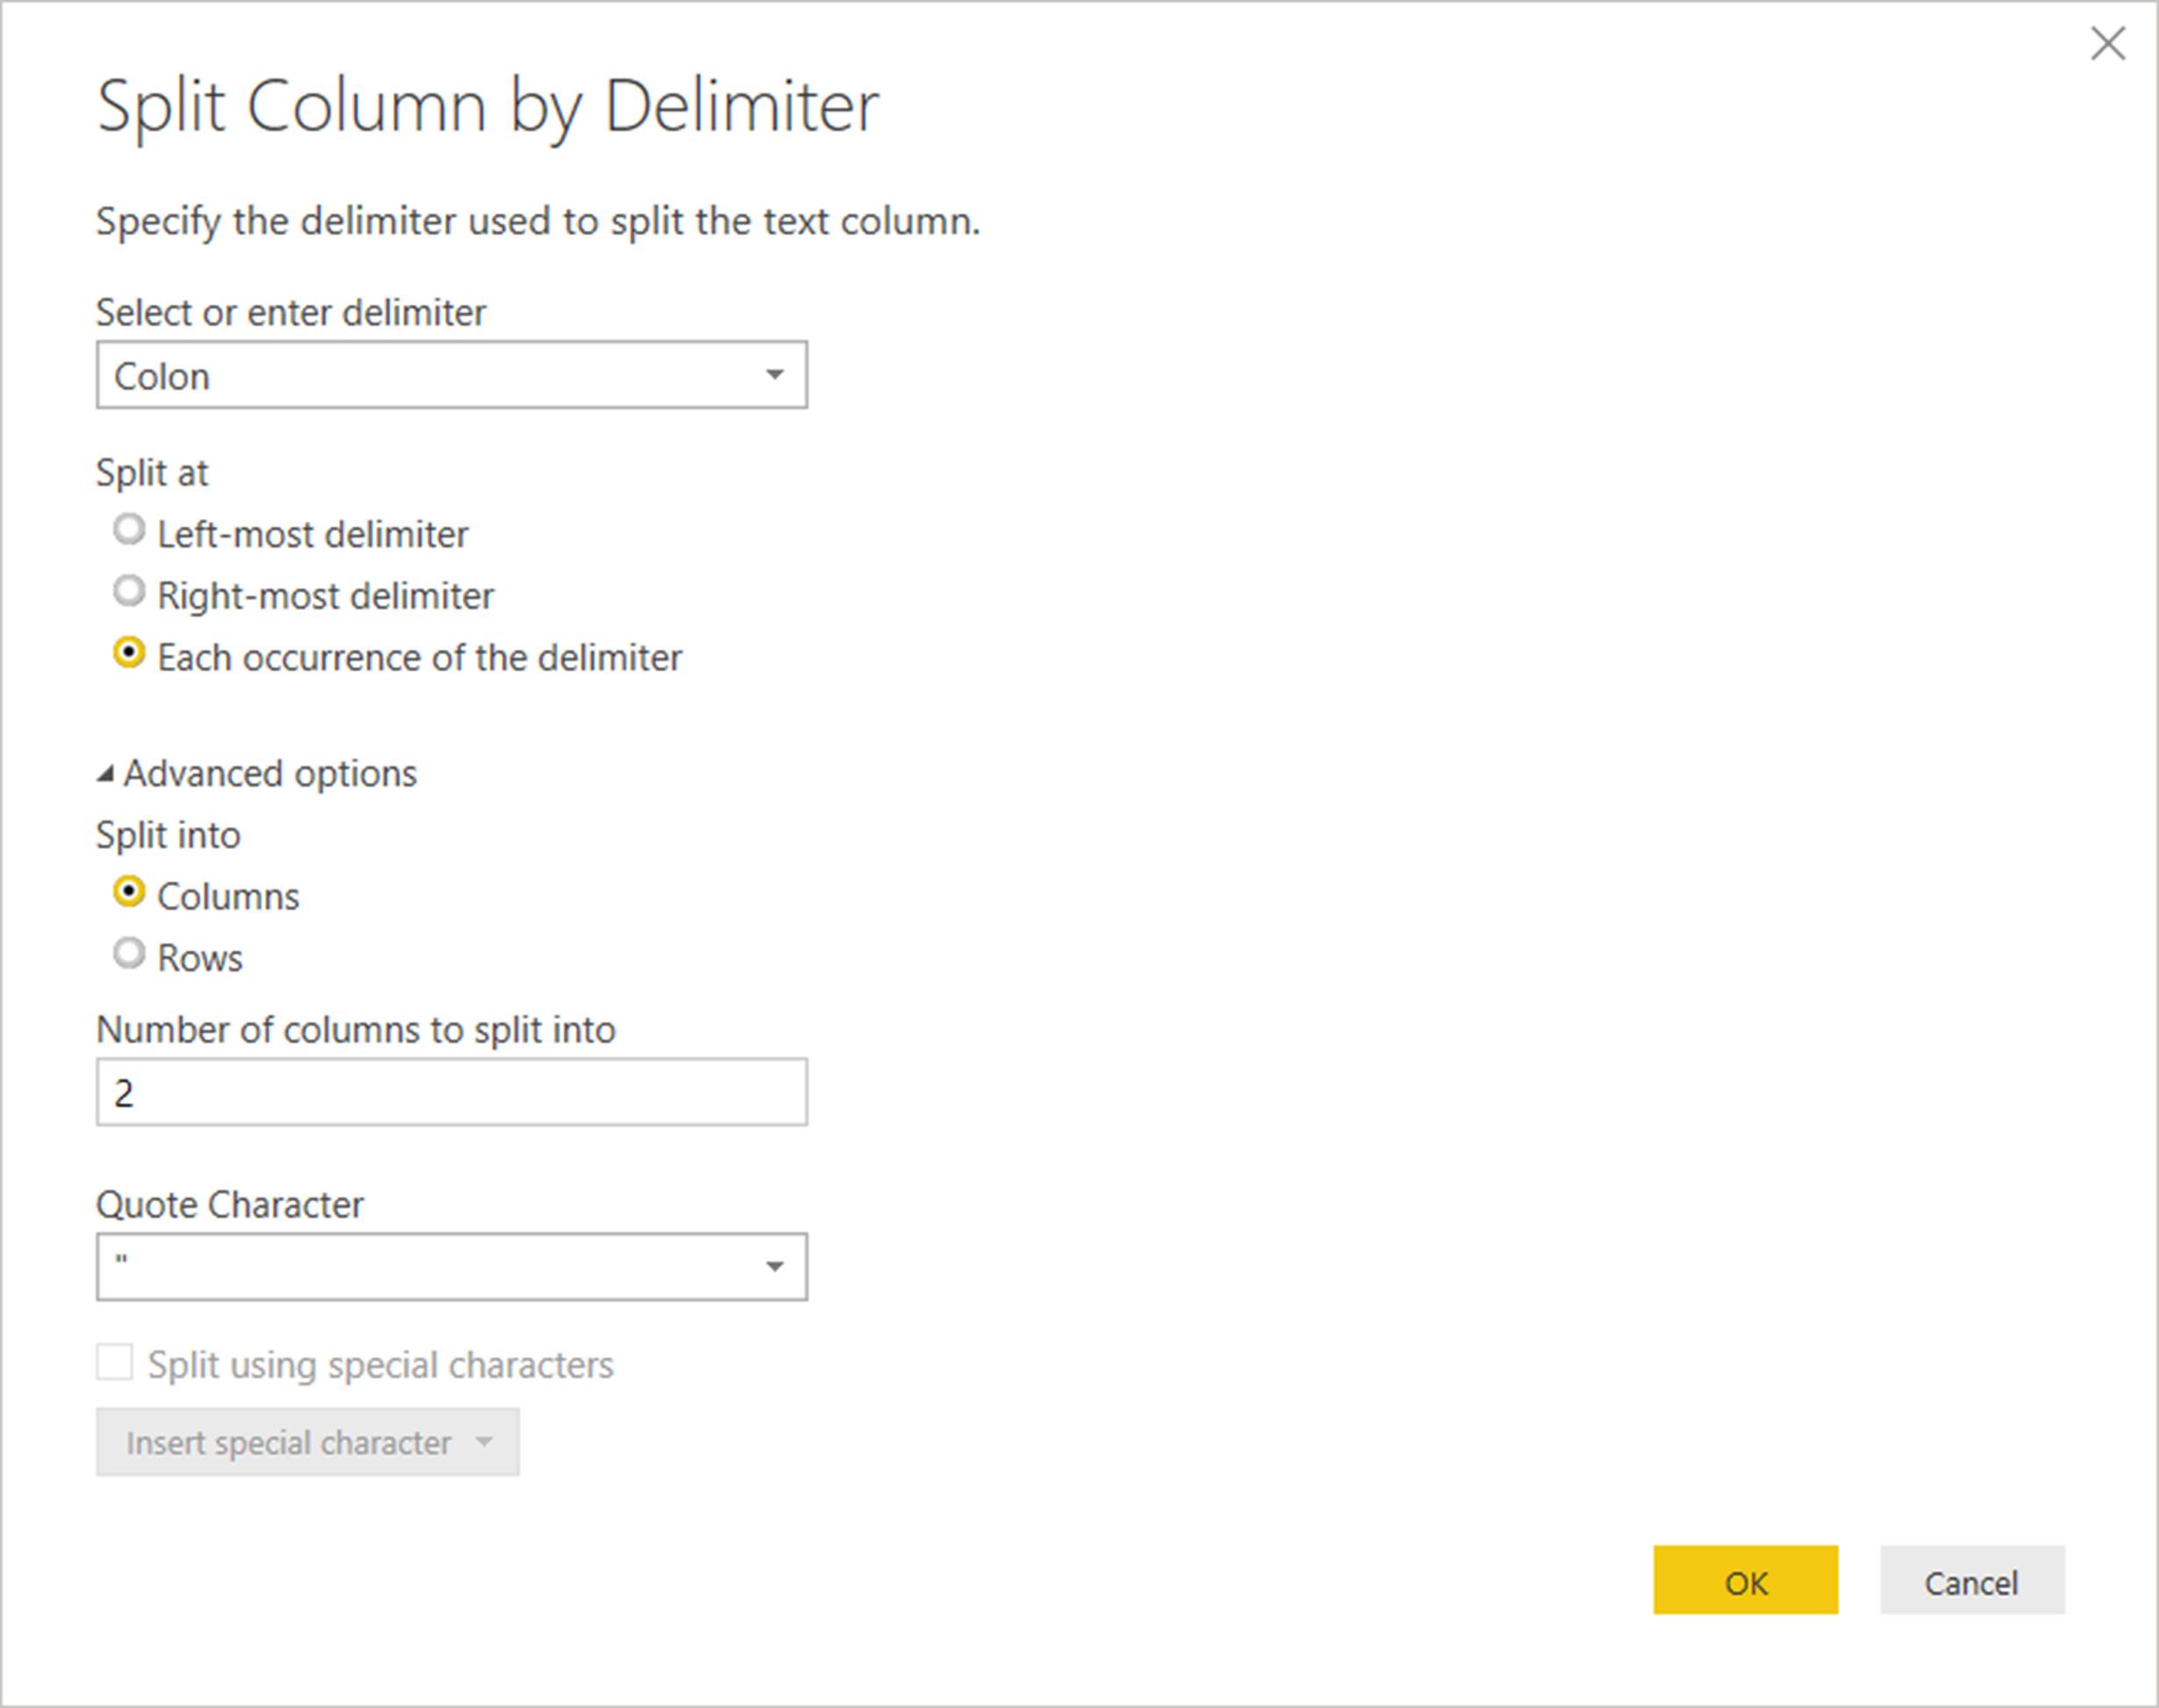
Again, we highlight the Results column and click Transform > Split Column > By Delimiter. For our second split operation, the delimiter will be a colon; and, since the items which are delimited by the comma are of the different types, we leave the default setting for this command Advanced options > Split into Columns.
And now finally, having renamed our columns, we have our data in a meaningful format which we can use for data analysis.